AKA- How to Re-Size a Pattern
Hi fellow quilters,
Have you ever found the perfect pattern for your quilt, and then noticed (to your dismay) that it isn’t quite big enough? Or maybe the pattern is gigantic and you want to make it smaller. I’m writing today to help you solve your problem with sizes, with just a little bit of math and your trusty photocopier.
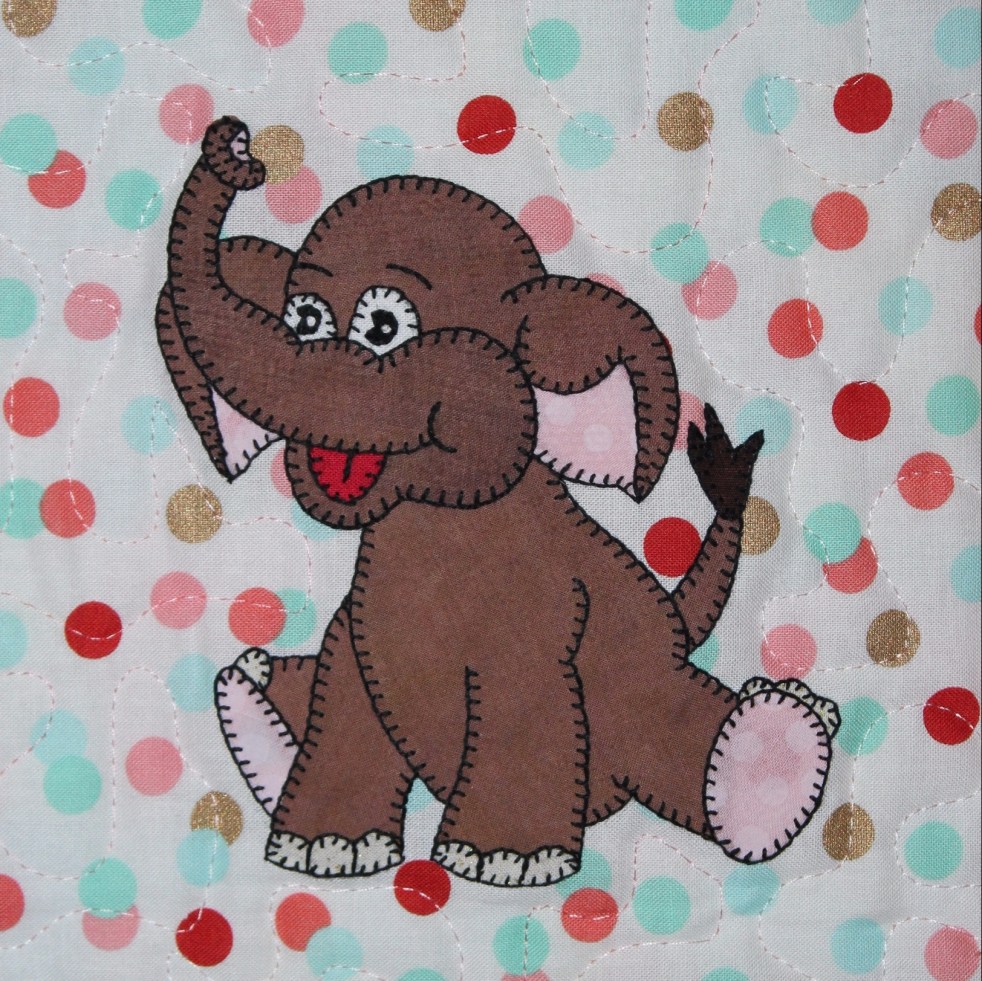
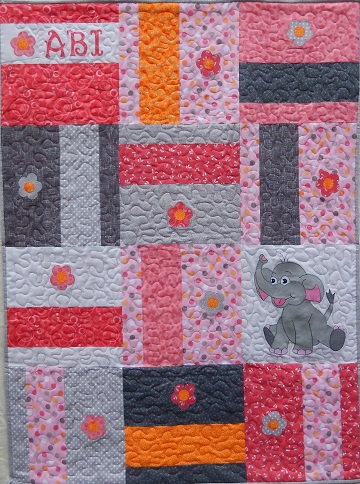
I used this technique to enlarge our Asian elephant, originally sized to fit into a 7″ square block on our “Zoo Too” quilt, shown in the photo below. You can see the little brown elephant on the fourth row down, second block from the left side. She’s very cute, but much too small to be the main feature on my new design.

I decided to enlarge the elephant to use in a 12″ square block for this quilt, made for my friend’s new grand-daughter (Abi). The elephant is every bit as cute as the original pattern, but she’s just a lot larger!
So here we go!
Step 1: Grab a printed copy of the pattern that you want to use. For an applique pattern, start with just the applique layout page. Use the piecing diagrams if your block is foundation paper pieced. You’ll need to know the original block size, so measure it carefully.
Step 2: Grab your calculator! If your heart is racing in anticipation of doing math (and not in a good way!), you might want to calm down and relax for a bit before proceeding. Don’t forget to breathe! Better now? Good. OK, let’s do this. Keep calm and calculate.
Step 3: Now we’ll calculate the percentage of reduction or enlargement that you’ll need. You’ll use the percentage that we calculate to adjust the settings on your copier, and then you can get back to making that beautiful quilt.
Here’s our math formula:
% enlargement (or reduction) = (Size you WANT ÷ Size you HAVE) × 100%
Now back to our example, using the sizes from the elephant pattern that I enlarged:
% enlargement = (12″ ÷ 7″) × 100% = 171%
Step 4: Grab your printed pattern again. Time to make your bigger (or smaller) pattern! Set the copier at the % enlargement (or reduction) that you calculated in Step 2 to make the right-sized copies of your pattern.
If you are reducing, just place the pattern on your copier and reduce away! Folding won’t be necessary. However, if you are enlarging your pattern, you may need to fold the pattern into sections and then enlarge a section at a time. Before you print the enlargements, take some time to make a few small dots or lines on each section of your original pattern to use for lining up the enlarged sections when you’re finished.
For our cute elephant pattern, I folded the original pattern into quarters, and then I enlarged one section at a time. When the enlargements were finished, I taped the sections together. Voila! A BIGGER elephant pattern, still just as darned cute as the original, to use on my quilt.
For applique patterns, you can enlarge the individual applique pieces by the same amount as the layout, or you can trace them from your enlarged (or reduced) layout. If you choose to trace from the layout, don’t forget to reverse the pieces if your pattern isn’t symmetric. The elephant pattern was not symmetric, so I had to reverse the pieces when I traced them.
Since I like to make things as easy as possible, I’ve done some calculations for you. (I admit freely that I’m a math nerd, and so I actually enjoy this sort of thing! But I also understand that math isn’t everyone’s cup ‘o tea either!) My calculations are based upon enlarging a design that was originally made for a 7″ by 7″ square block like all of our single block patterns. Click below to open the document with the math already worked out for several popular finished block sizes!
Printer Settings for Re-sizing Blocks
If the block size that you want is included on the list, then you can go ahead and skip steps 2 and 3 above.
I hope this little tutorial will be helpful whenever you need to adjust block sizes! Is there anything else that you’d like to learn more about? Leave us a comment about it; we’re always on the lookout for good ideas to blog about, right here.
Happy quilting,
Sharon
