
Hi Quilting Friends,
Welcome back to the “Black & White Delight” Quilt-Along. If you’re just joining us, you may want to have a look at the “Welcome” post to help you catch up.
This week we’re going to begin planning the applique borders! As you’ll see, there are loads of ways to arrange the flowers and leaves to make a lovely border treatment. Have fun playing around with your leaves and flowers, and come up with a border design that is uniquely yours! Of course, you’re not limited to the applique templates that were provided in the pattern packet. If you have something else that you love, use it instead! Let your creativity shine.
- Fabrics for applique flowers and leaves
- Rick-rack for vines, optional
- Prepared Fabric B border strips from last week
- Printed applique templates (Pages 34-35)
- Fusible webbing (I prefer Heat-n-Bond Lite)
- Pencil
- Iron & ironing board
- Applique pressing sheet
- Scissors for cutting applique pieces
- Beverage & snack(s) for hydration and energy!
Your first task is to trace several of each flower and leaf style onto your fusible webbing. Leave just a little space between each piece as you trace. You’ll probably want to have at least 5 of each type of flower and leaf to play with during the planning stage.
The picture here shows the fabrics that I used for my leaves and flowers.
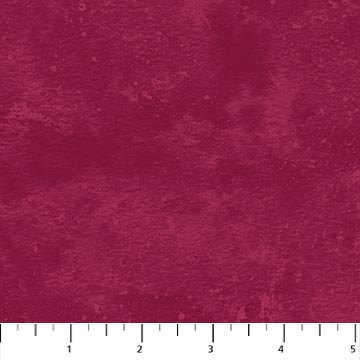
Northcott Toscana 9020-280 Plumberry 
Northcott Toscana 9020-281 Roasted Beet 
Northcott Toscana 9020-79 Palm 
Northcott Toscana 9020-850 Pansy 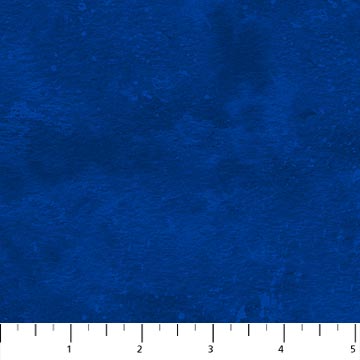
Northcott Toscana 9020-473 Provence 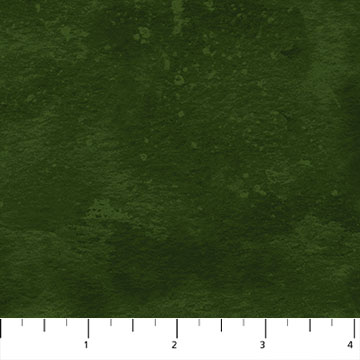
Northcott Toscana 9020-782 Basil 
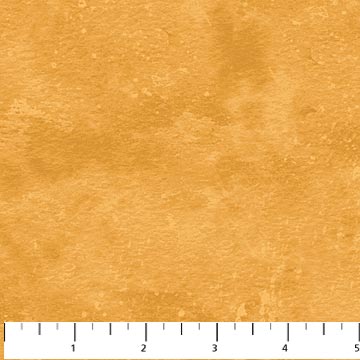
Northcott Toscana 9020-53 Fool’s Gold 
Decide on the colors for your flowers and leaves, and then fuse the traced pieces onto the wrong side of each fabric. Follow the manufacturer’s instructions for temperature and fusing time. Let the applique pieces cool for a bit. After you’ve settled on your applique border layout, you’ll need to trace and cut additional flowers.
Cut around the pieces on the solid lines. Set the leaves aside for now. Grab your applique pressing sheet and place the flower pieces on it, right sides up. (You can leave the paper backing in place on the flowers for now.) Match up the flower center with each style of flower. Peel away the paper backing on the flower center, and place it on the flower. Fuse the centers in place, according the the manufacturer’s instructions for temperature and fusing time.
Now it’s time to play with your borders! Here are several of the layouts that I auditioned for my quilt:

This is very pretty but I decided that I didn’t want to make (and applique) quite that many flowers.

Simple and understated. I still really like this layout!

My first layout with the rick-rack vines. This one has the flowers spaced somewhat evenly around the borders.

This is very similar to Option B, except for the style and color of the smaller flowers.

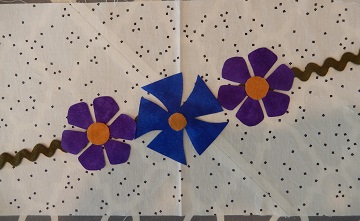
This layout uses the vines and all three flower styles. I added six small leaves to each 3-flower cluster, placing them without a set pattern. Half of the flower clusters have 2 purple and 1 blue flower, as shown here, and the others have 1 purple and 2 blue flowers. You’ll just need to play with your pieces until you find a layout that you love.
After you’ve decided upon a layout for your applique borders, estimate the number of each style of flower and leaf that you’ll need to prepare. For my quilt, I used 14 large flowers with 2 large leaves each, 21 each of the smaller flowers, and 84 small leaves. Whew! That was a LOT of tracing and cutting to do, but I love my applique borders! I organized my flower and leaf pieces into separate baggies until I was ready to fuse them to the applique background.
Now it’s time to place the flowers and leaves and then fuse them to the applique background! It helps with placement to divide the border into equal-sized sections and then repeat the applique pattern in each section. I pressed fold lines into my borders at equal intervals to use as a placement guide. Take your time and work on just one border at a time. Wait to fuse the flowers and leaves in place until you’re satisfied, and then move on to the next border.
If you’re using rick-rack to make some vines, like I did, leave the sides of the flowers un-fused until you’ve stitched the rick-rack to the background. For my quilt, I just left the outermost petal loose until after the vines were attached. I decided to omit the “vines” under the flowers, since that would create additional bulk, so I ended up cutting pieces of the rick-rack and pinning them in place until I could sew them down. I attached my rick-rack with matching thread, sewed down the center, and then I fused the last petals into place.
One thing that I should mention is the corner treatments! If you’ll have “vines” around your quilt, you’ll need to leave the rickrack (and the flowers or leaves that they join with) loose on the corners where the sides come together with the top or bottom. These pieces will be stitched down after you stitch the borders to the edges of the quilt. I wish that I had a picture of this before I sewed it down, but I didn’t think of taking one at the time. I was just too excited to get that last bit of stitching done. 😁

Next week I’ll show you a few of my favorite machine applique tips! Until then, may your stitches be straight, your bobbins full, and your seam ripper languishing in the sewing basket.
Happy quilting,
Sharon

Beautiful! 😁 Carol
LikeLike
Thanks Carol! I still haven’t made a decision about how I want to quilt it, but I’m happy with how it is turning out.
LikeLiked by 1 person