Hi Quilting Friends,
Welcome back to the “Black & White Delight” Quilt-Along. If you’re just joining us, you may want to have a look at the “Welcome” post to help you catch up.
This week’s block is called “Granny’s Star”. My exhaustive research didn’t turn up any information about whose Granny this beautiful block is named for, but the star is an ever-popular motif for quilters so I’d guess that everyone’s Granny would love it too. I hope that you’ll enjoy making your gorgeous “Granny’s Star” block!
- Fabric pieces from your Block 7 baggie
- Sewing machine (obviously!)
- Iron & ironing board
- Thread
- Scissors for snipping thread
- Pencil
- Rotary cutter & mat
- Ruler(s) I like my little 1″ by 6″ ruler for marking squares
- And my 3.5″ by 12.5″ ruler for cutting
- Beverage & snack(s) for hydration and energy!
Here’s a picture of my Block 7 baggie contents:

This block includes four sections that are foundation paper pieced, so you’ll need to print one copy of page 32.
Go ahead and piece the four foundation pieced squares, using the fabrics and piecing order that are specified on the piecing diagrams and the instructions on page 24, steps 1 and 2. Trim to size. These squares will be the central block sides, and they will look like this:

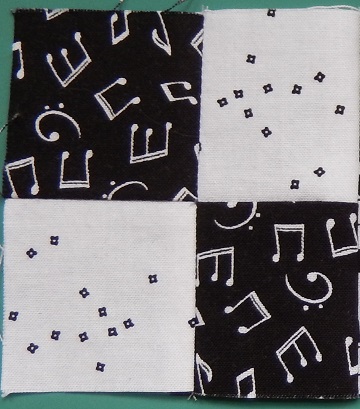
Make a set of eight 4-patch blocks from the Fabric B and Fabric F strips, as we did in “Those Fabulous 4-Patches“. They will look like this:
Sew a block side to two opposite edges of the Fabric D square, like this:

Sew a 4-patch square to two edges of the remaining two pieced block sides, to make two rows like this:

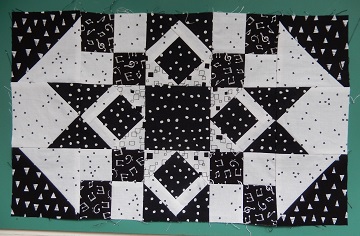
Sew the rows together to make the central block, like this:

Now you’ll add a frame around the center block to finish it, as we’ve done with our previous blocks.
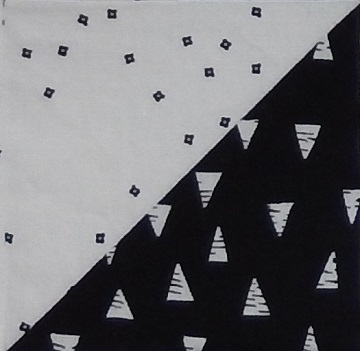
Your first step is to make eight Fabric A/ Fabric B HST squares, just like we did for the “Friendship Star” block, like this:
Start by sewing a HST to both sides of the Fabric B squares, to make four pieces like this:

Sew one of these to each side of the Granny’s star block, like this:
Now add a 4-patch square to both ends of the remaining two pieces, like this:

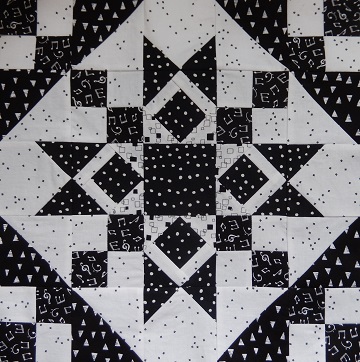
And sew them to the top and bottom of your Granny’s Star Block! All done! This block will take between 1 and 2 hours to stitch.
You may purchase the Granny’s Star block pattern by clicking the button below.
Time to show off your beautiful “Granny’s Star” block! We’d ALL love to see a picture, so snap a photo and post it on Instagram please.
#bwqal_yourname @mspdesignsusa
Next week we’ll sew the Double Aster block! Until then, may your stitches be straight, your bobbins full, and your seam ripper languishing in the sewing basket.
Happy quilting,
Sharon

One thought on “Granny’s Star!”
Comments are closed.